
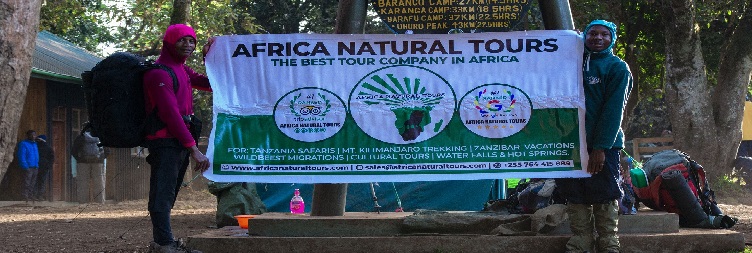
Experience the adventure of a lifetime with our top best 9-day group budget climb of Kilimanjaro via the Northern Circuit Route, starting from Arusha, Tanzania. This unique route offers breathtaking views and a less crowded experience, allowing you to fully immerse yourself in the stunning landscapes and diverse ecosystems of the mountain. Join fellow adventurers and create unforgettable memories as you tackle this iconic peak together.
9 Days Group Budget Kilimanjaro Climb via Northern Circuit Route from Arusha in Tanzania (2026 - 2027) Tour Summary
Tour Features for 9 Days Group Budget Kilimanjaro Climb via Northern Circuit Route from Arusha in Tanzania (2026 - 2027)
Standard of tour
: No accommodation standard defined
Tour style
Group: This shared adventure places you in a small group setting
Customizable Tour
Feel free to request minor Changes to suit your preferences
Suitable for all travelers
Best for the year : 2026, 2027, 2028, and +
Activities and Transportation: 9 Days Group Budget Kilimanjaro Climb via Northern Circuit Route from Arusha in Tanzania (2026 - 2027)
-
Activities: Nature hikes/walks

-
Getting around: Normal 4x4 vehicle (closed sides and roof),Walking (on walking safaris or multi-day hikes)

9 Days Group Budget Kilimanjaro Climb via Northern Circuit Route from Arusha in Tanzania (2026 - 2027) Tour details
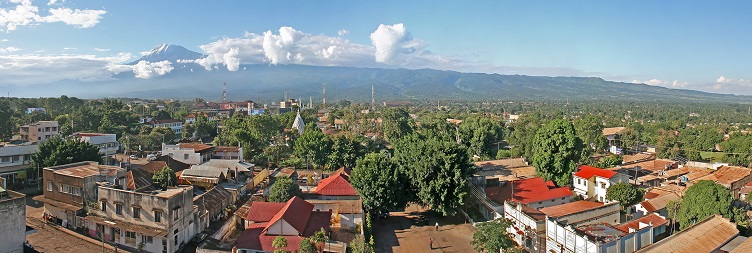
Arusha to Moshi
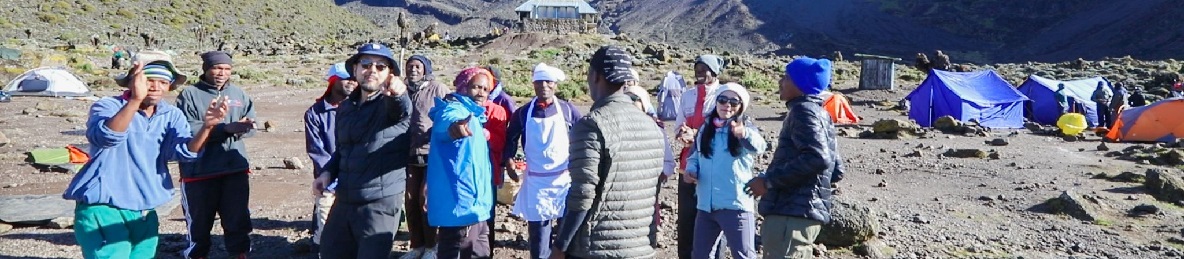
You will be picked up in Arusha and transferred to your budget hotel in Moshi town; you will meet your Kilimanjaro Hiking guide who will brief you on your upcoming trek and do an equipment check to make sure you have all the necessary mountain gear. The missing gear can be rented on this day.
- Main Destination:
- Moshi
- Accommodation:
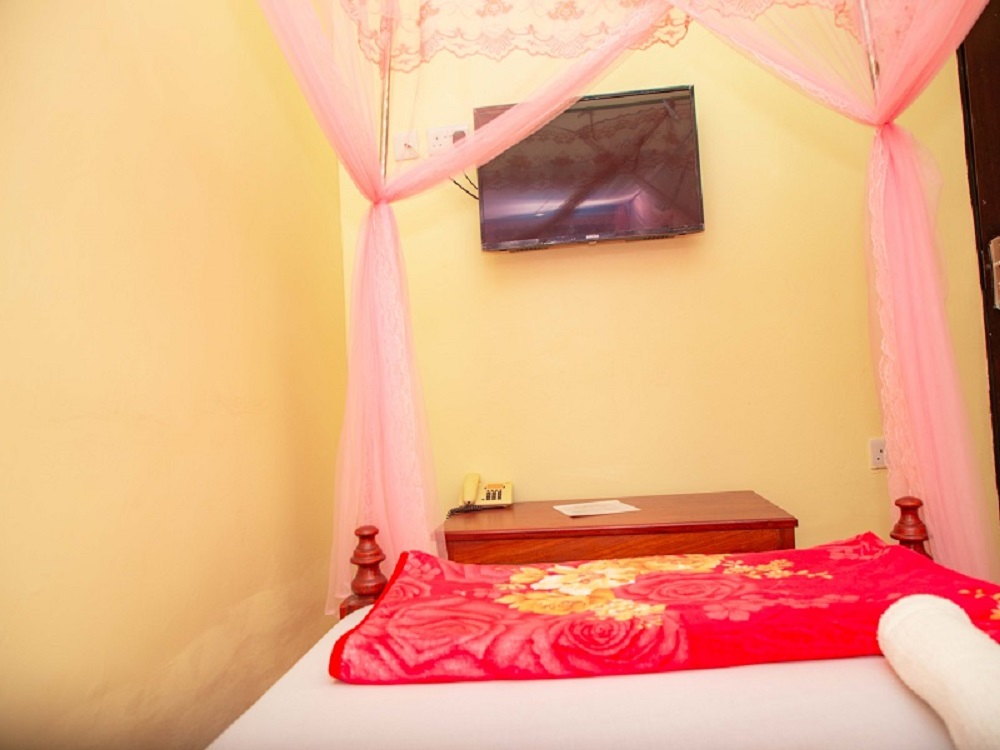
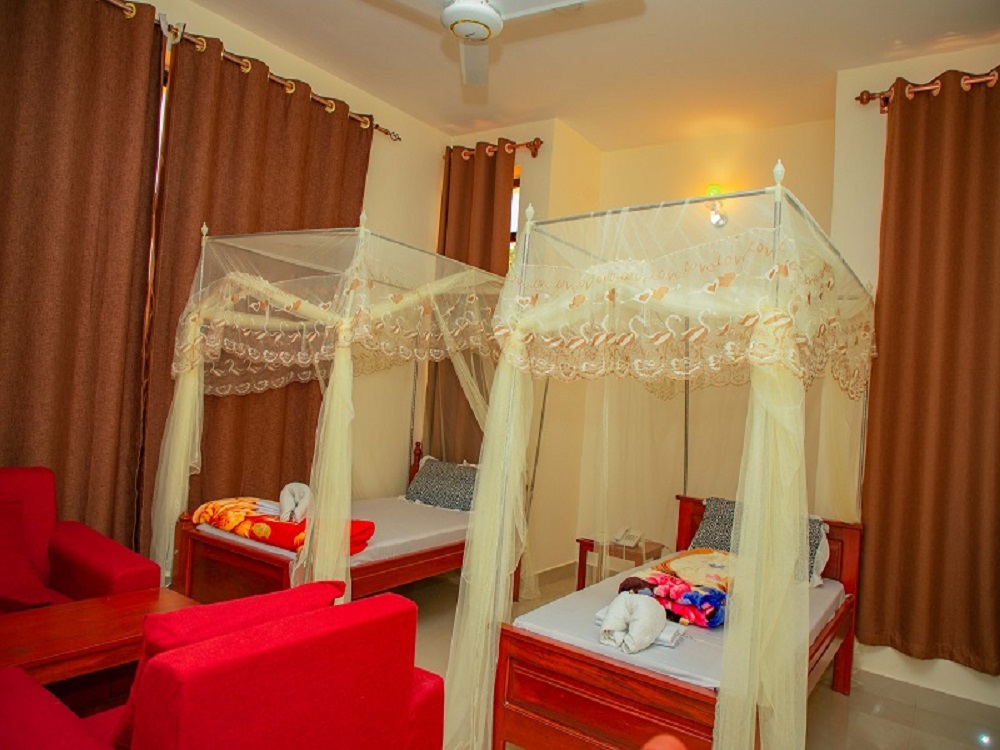
-
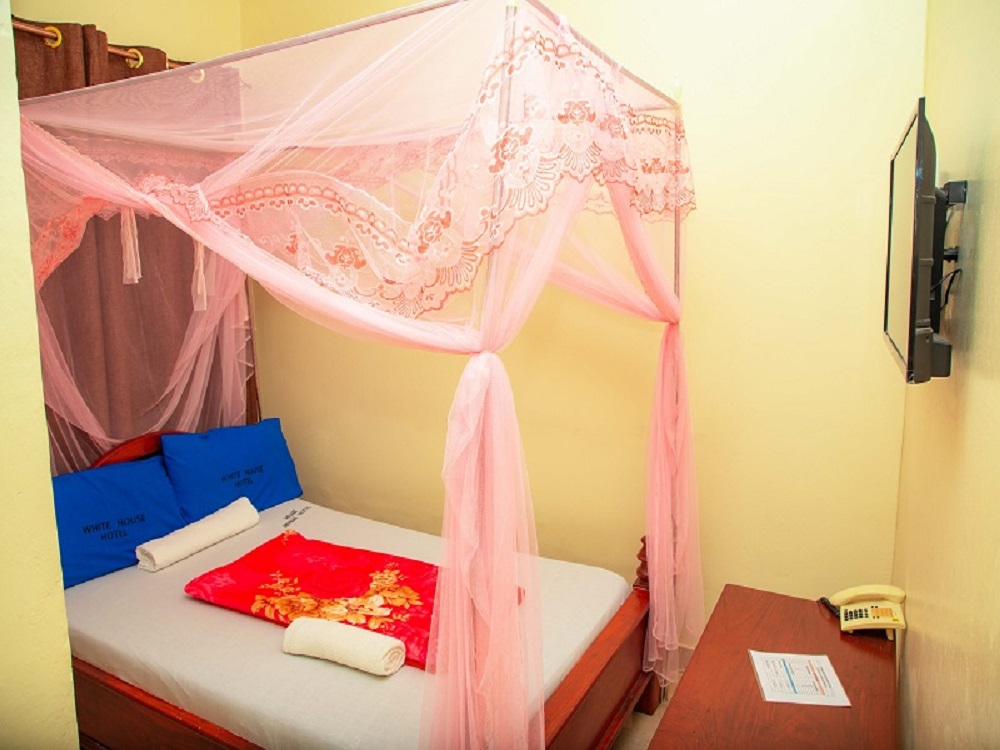
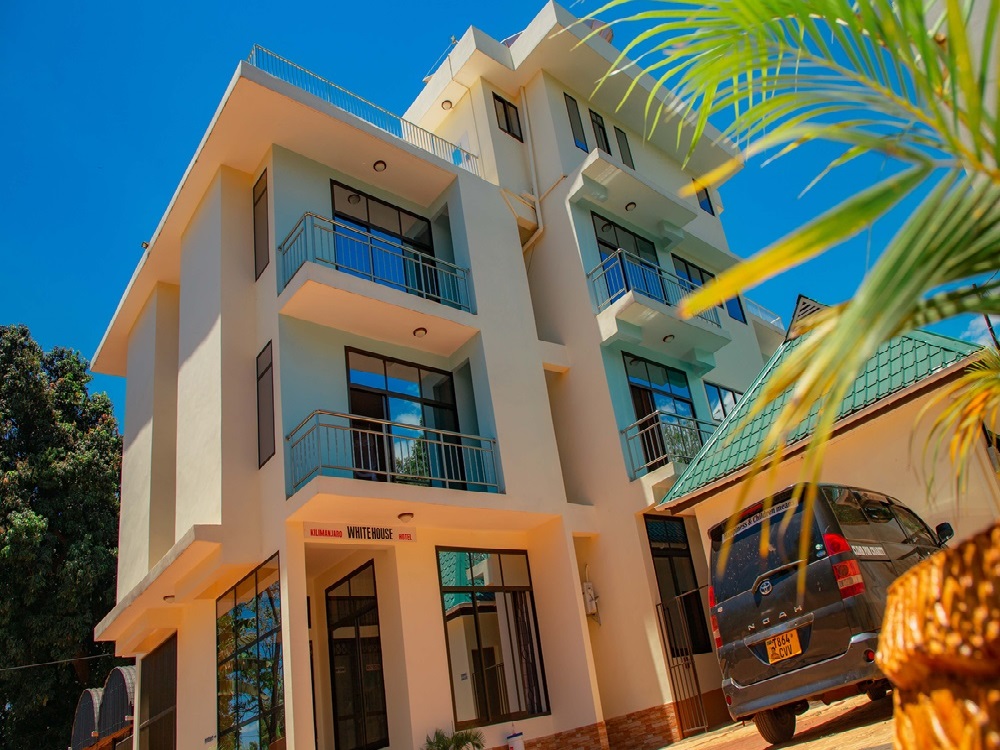
Kilimanjaro White House Hotel

- Meals & Drinks:
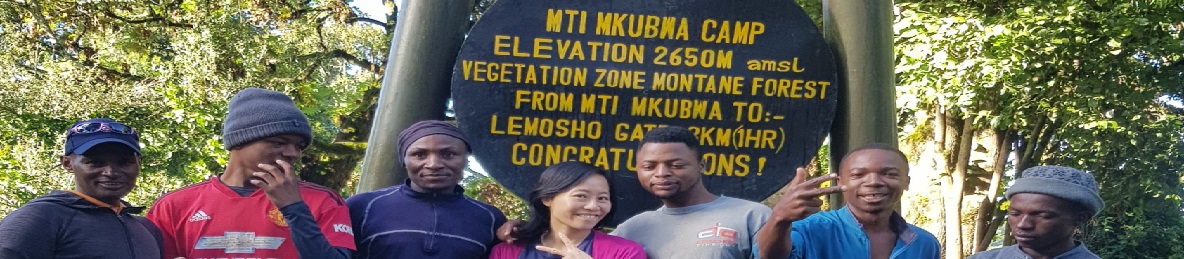
Lemosho Gate (2,360 meters) to Mti Mkubwa Camp (2,820 meters)
Distance: 5.5km / 3 miles
Trekking time: 3-4 hours
Zone: Rainforest
Meals: Breakfast, Lunch & Dinner Included
Before arriving at Lemosho Gate, you'll pass through varied farmland with expansive views of the plains. Near the Lemosho trailhead, a scenic forest clearing provides a perfect spot for lunch. After completing registration at the gate, the trek begins along a narrow path winding through a lush, vibrant forest inhabited by wildlife like buffalo. The day concludes at Mti Mkubwa Camp (Big Tree Camp), located at an elevation of 7,800 feet.
- Main Destination:
- Mti Mkubwa
- Accommodation:
-
Mti Mkubwa Camp


- Meals & Drinks:

Mti Mkubwa Camp (2,820 meters) to Shira Camp 1 (3,610 meters)
Distance: 5.5km / 3 miles
Trekking time: 3-4 hours
Zone: Rainforest
Full Board at Shira One Camp
Meals: Breakfast, Lunch & Dinner Included
Follow the trail as it leaves the forest and enters a savannah filled with tall grasses, heather, and volcanic rocks adorned with hanging lichen. As you climb through the lush, rolling hills and cross a number of streams, you’ll reach the Shira Ridge, then descend gradually to Shira 1 Camp. The view of Kibo across the plateau is truly breathtaking.
- Main Destination:
- Shira 1 Camp
- Accommodation:
-
Shira 1 Camp


- Meals & Drinks:
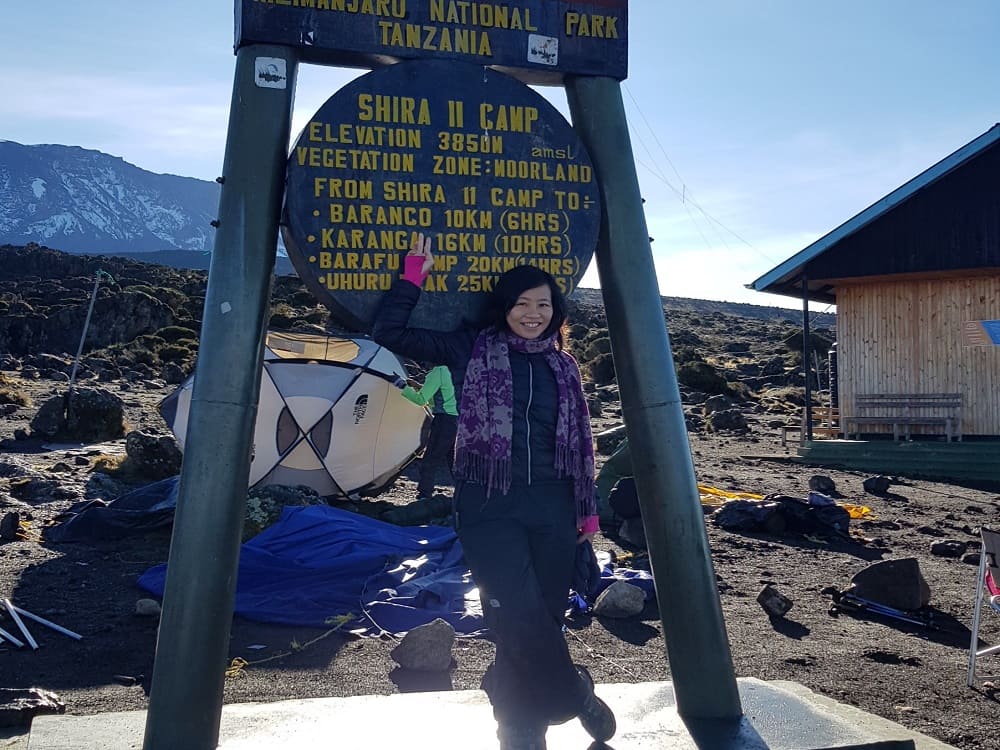
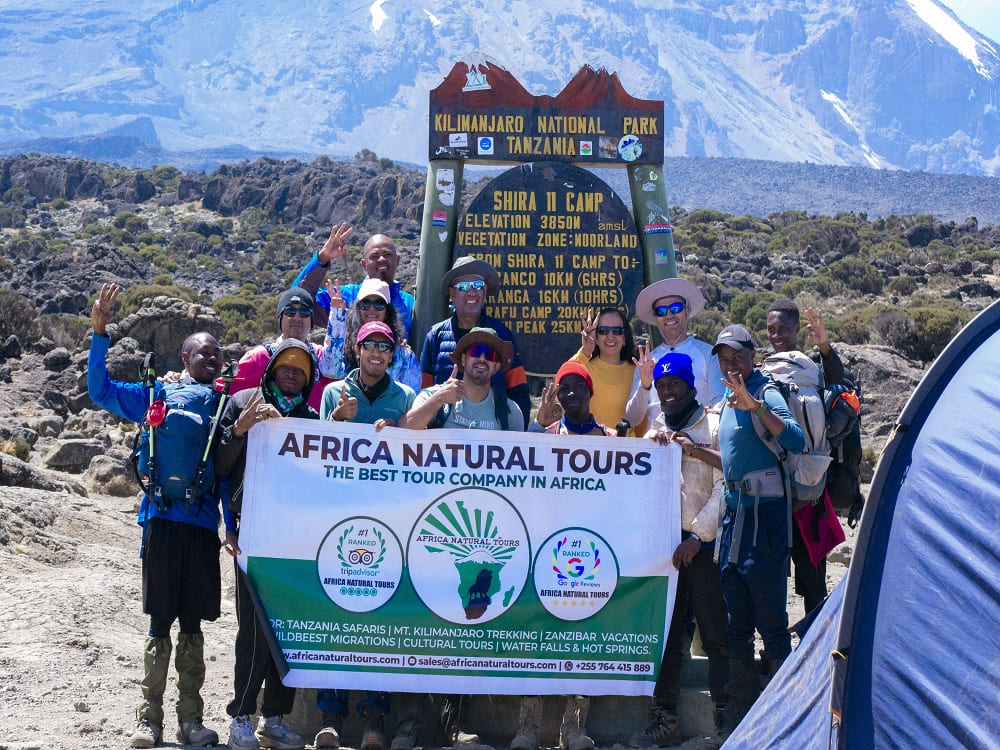
Shira Camp 1 (3,610 meters) to Shira Camp 2 (3,850 meters)
Distance: 7km / 4 miles
Trekking time: 3-4 hours
Zone: Rainforest / Low Alpine Zone
Meals: Breakfast, Lunch & Dinner Included
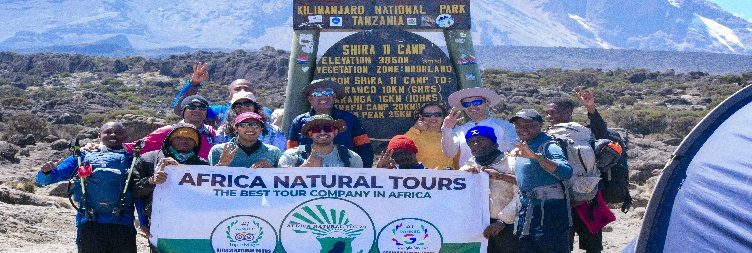
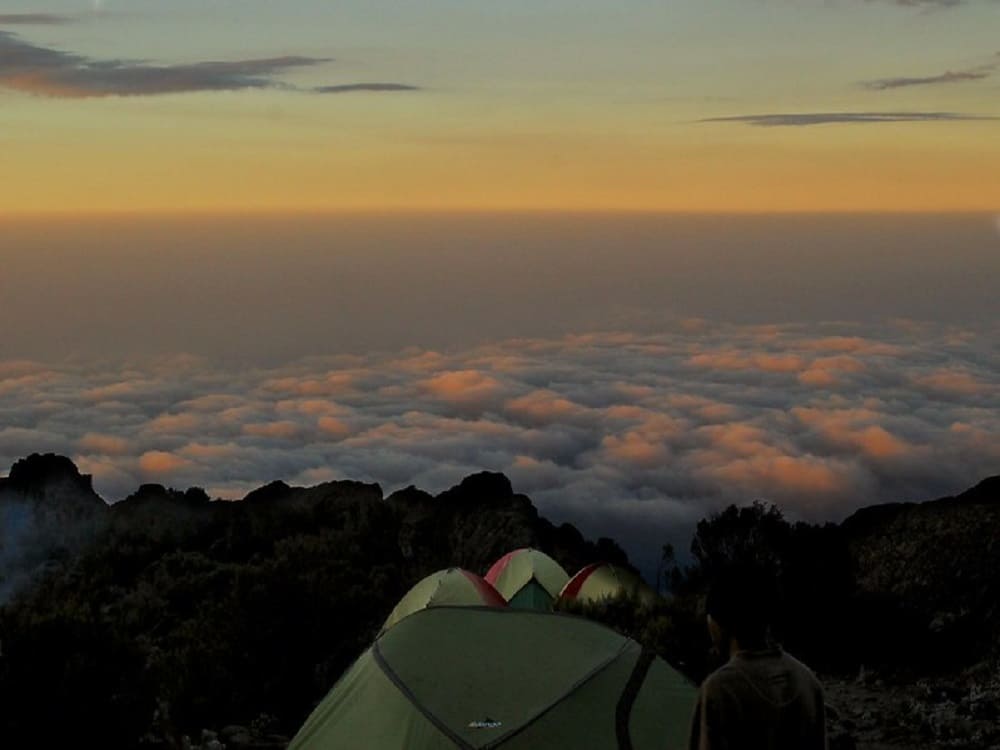
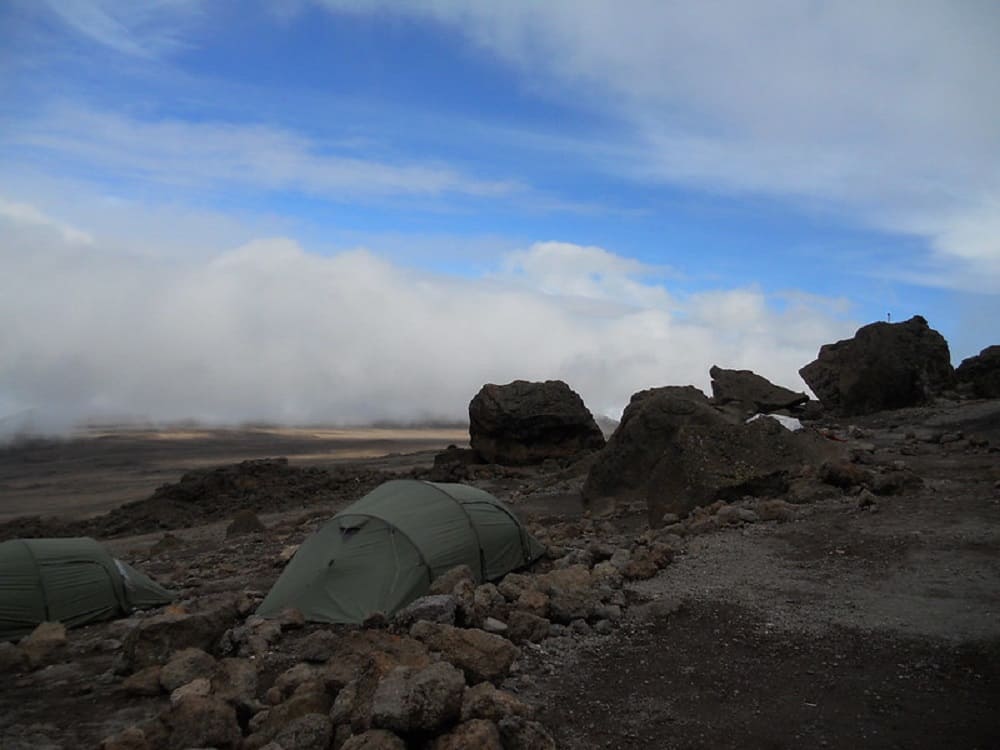
On day three, the trek continues across the Shira Plateau from Shira Camp 1 to Shira Camp 2, where you’ll spend the night and join trekkers coming from the Machame Route. From Shira Camp 2, it’s recommended to hike a bit further up the plateau to take in the breathtaking views of the valley below and the Western Breach above. The Shira Plateau is quite exposed, so prepare for a chilly night with temperatures potentially dropping below freezing.
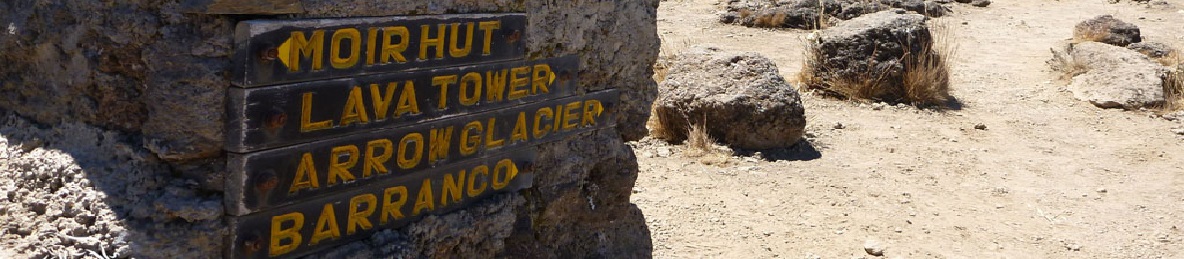
Note: You’ll proceed east along the Shira Ridge to Lava Tower (4,600 meters), then descend via the Northern Circuit to Moir Camp (4,200 meters).
- Main Destination:
- Shira 2 Camp
- Accommodation:
-
Shira 2 Camp

- Meals & Drinks:
Shira Camp 2 (3,850 meters) to Moir Camp (4,200 meters)
Distance: 14km / 8 miles
Trekking time: 5-7 hours
Zone: Low alpine zone / High alpine zone
Meals: Breakfast, Lunch & Dinner Included
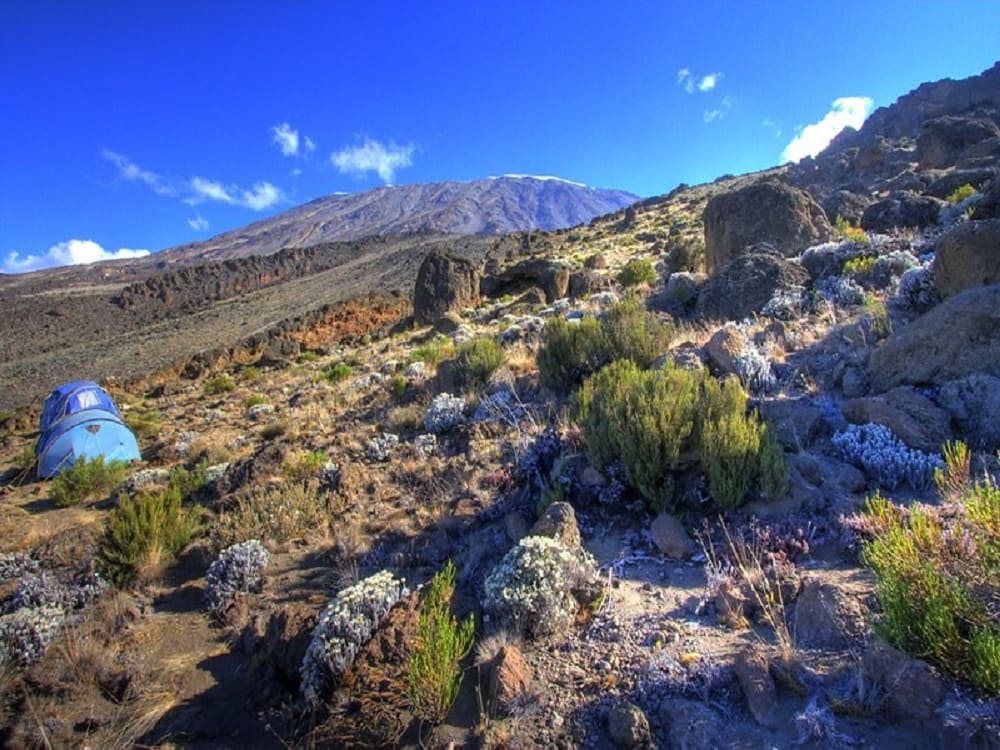
On day four, the journey continues eastward on a long trek through the stunning ‘Garden of the Senecios’ before entering the high alpine desert. The morning involves a steady climb to Lava Tower and the distinctive Shark’s Tooth rock formation at 4,600 meters, where lunch will be served. Afterward, you'll descend via the northern circuit to Moir Camp at 4,200 meters. This day is key for acclimatization, as you hike high and sleep at a lower altitude.
Moir Camp (4,200 meters) to Buffalo Camp (4,020 meters)
Distance: 12km / 7 miles
Trekking time: 5-7 hours
Zone: High alpine zone
Meals: Breakfast, Lunch & Dinner Included
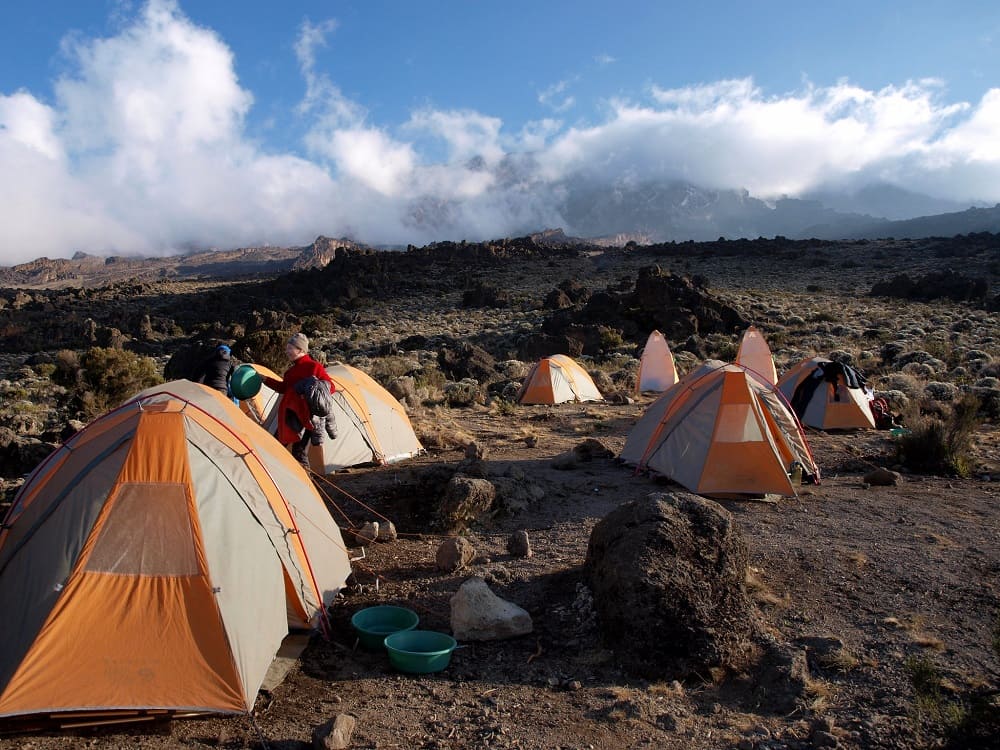
On day five, the journey begins with a moderately steep ascent out of Moir Valley. An optional short detour offers the chance to summit Little Lent Hill at 4,375 meters before rejoining the Northern Circuit trail. The path then winds through a series of gentle climbs and descents along the northern slopes of Kibo, eventually leading to Buffalo Camp at 4,020 meters. Along the way, you'll enjoy sweeping views of the vast plains stretching toward the Kenya–Tanzania border. You’ll reach Buffalo Camp shortly after midday, where lunch and well-deserved rest await after a challenging hike.
- Main Destination:
- Buffalo Camp
- Accommodation:
-
Buffalo Camp
- Meals & Drinks:
Buffalo Camp (4,020 meters) to Rongai Third Cave Camp (3,800 meters)
Distance: 8km / 5 miles
Trekking time: 5-7 hours
Zone: High alpine zone and low alpine zone
Meals: Breakfast, Lunch & Dinner Included
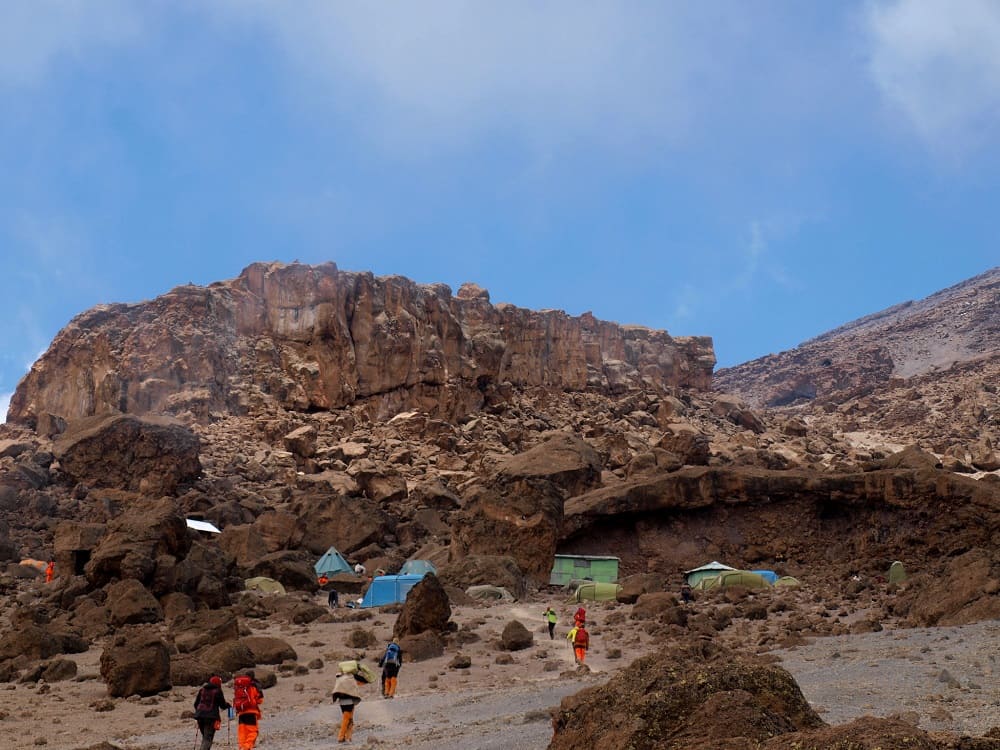
On day six, the trek begins with a climb over Buffalo Ridge, followed by a descent into Pofu Camp, where lunch is enjoyed. The Northern Circuit route then heads east along Kilimanjaro’s northern slopes toward the Rongai Third Cave Camp, located at 3,800 meters. This day’s hike is shorter than the previous one, and by now, you should be well acclimatized to the altitude. You’ll reach Third Cave Camp by mid-afternoon.
- Main Destination:
- Third Cave Camp
- Accommodation:
-
Third Cave Camp


- Meals & Drinks:
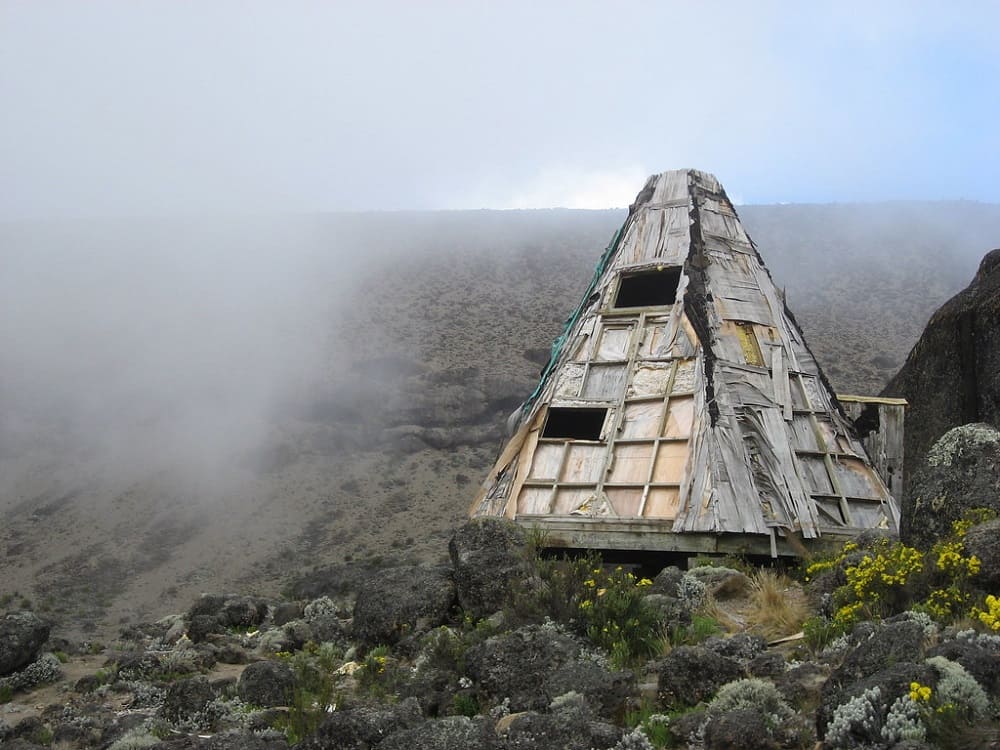
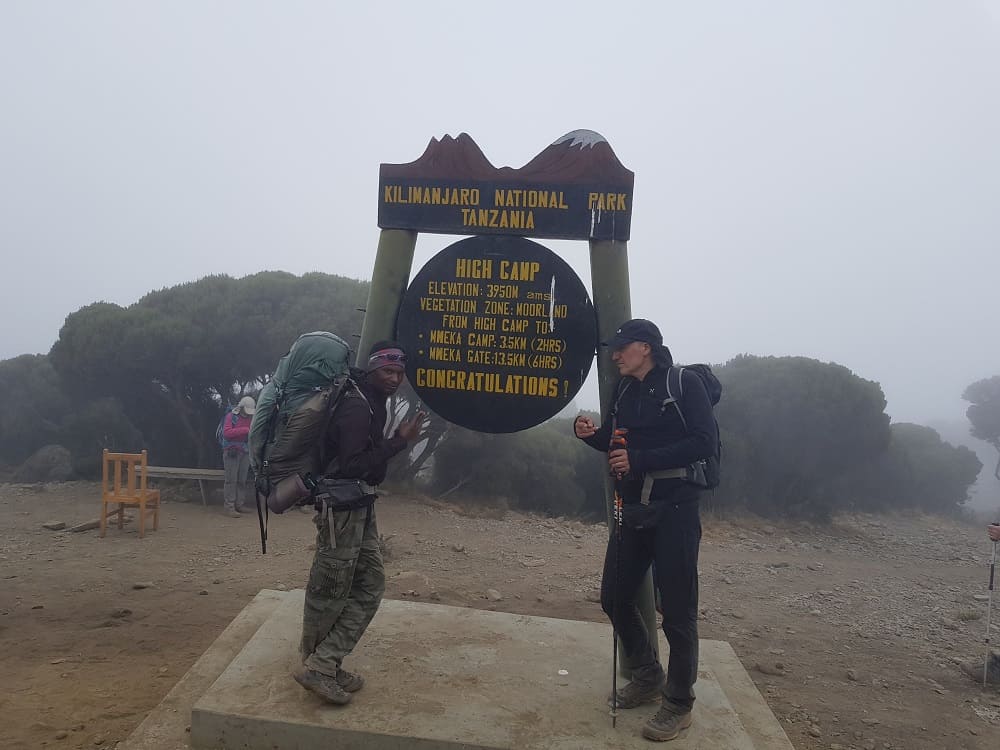
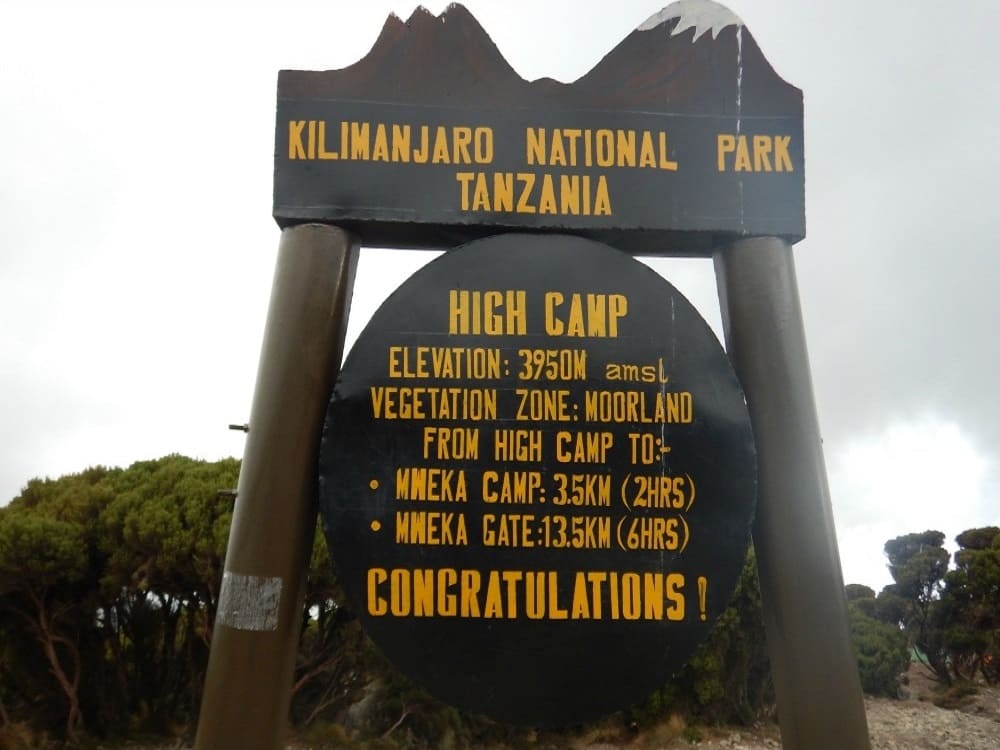
Day 7: Third Cave Camp (3,800 meters) to School Huts (4,800 meters)
Distance: 15km / 8 miles
Trekking time: 4-5 hours
Zone: High alpine zone and glacial zone
Meals: Breakfast, Lunch & Dinner Included
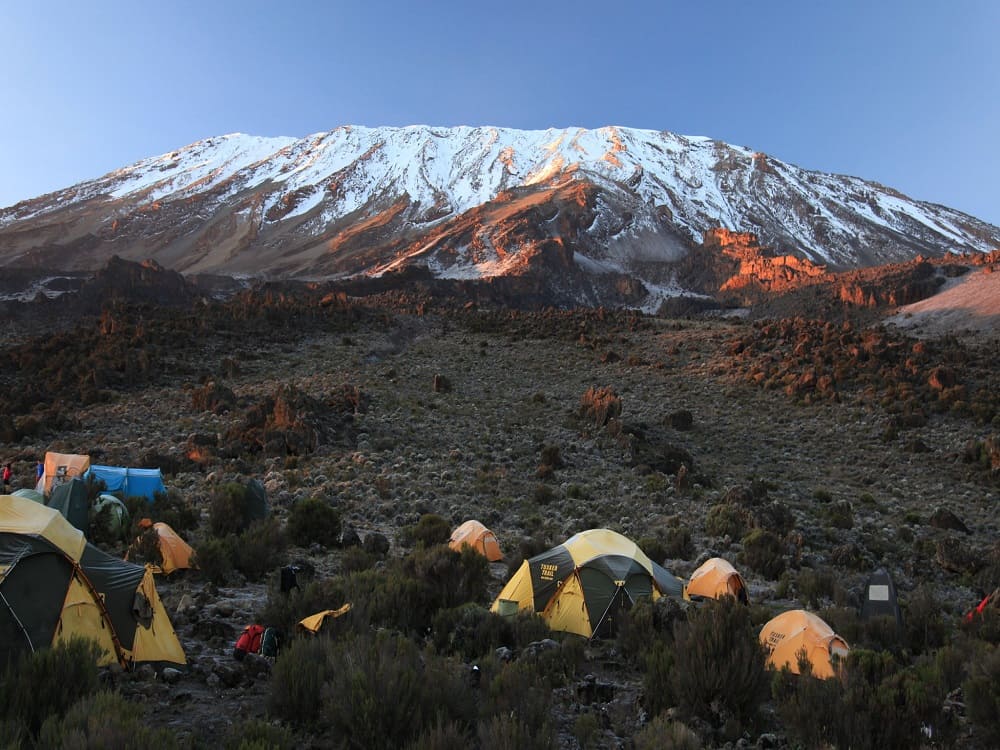
On day seven, you’ll trek steadily uphill across the Saddle, a broad ridge that stretches between Mawenzi Peak and Kibo Huts. From there, you’ll head southwest to reach School Huts at an elevation of 4,800 meters. Upon arrival, an early dinner will be served, and you’ll be encouraged to rest early in preparation for the midnight summit push. Be sure to organize all your gear—warm clothing, insulated water bottles, snacks, headlamp, and camera—before going to sleep.
- Main Destination:
- School Huts
- Accommodation:
-
School Huts

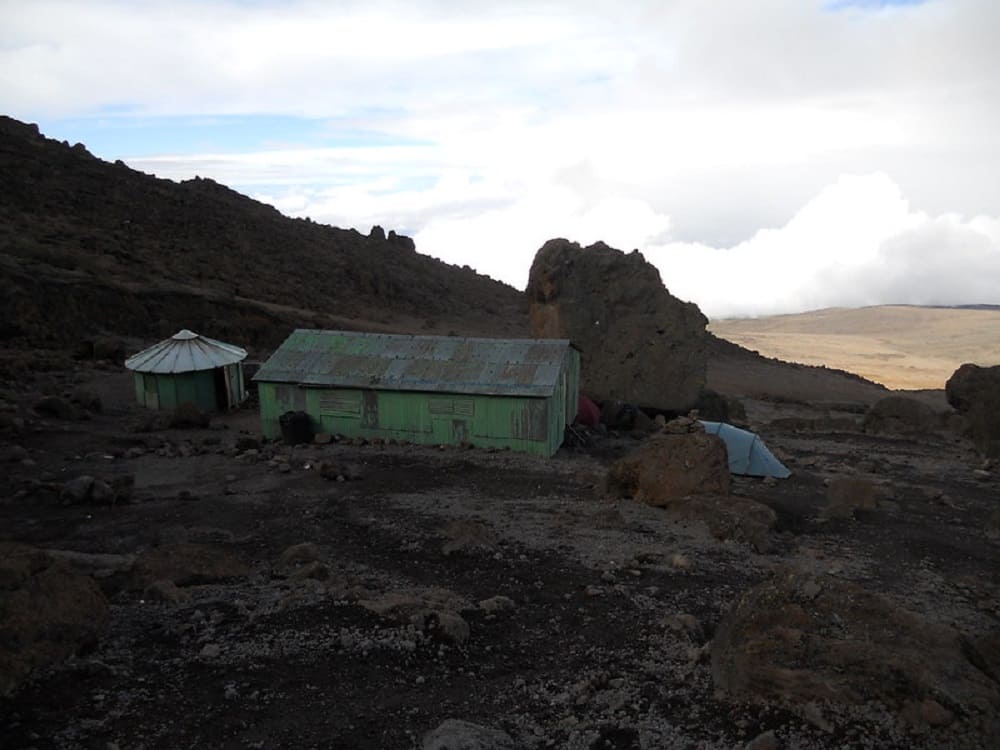
- Meals & Drinks:
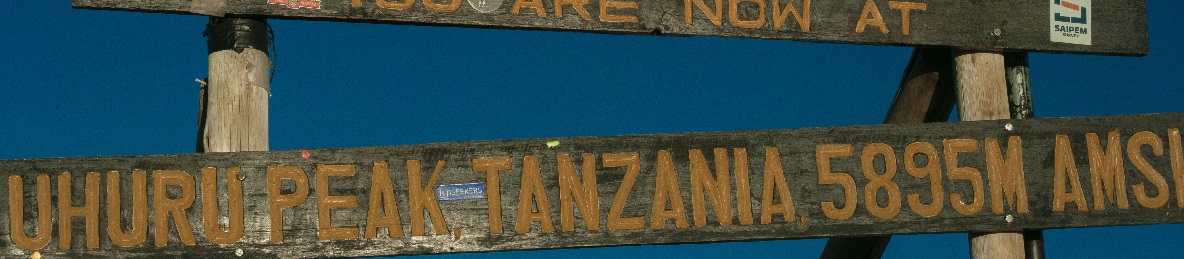
School Huts (4,800 meters) to Uhuru Peak (5895m) to Millennium Camp (3790m)
Distance: 6km / 3.5 miles ascent and 10.5km / 6-mile descent
Trekking time: 6-8 hours ascent and then 4–6-hour descent
Zone: Glacial zone and all preceding zones
Meals: Breakfast, Lunch & Dinner Included
You’ll be woken at around 11:30 PM with hot tea and biscuits before beginning your steep ascent up the slopes of Kibo in the dark. Your first stop will be Hans Meyer Cave, where you’ll take a brief rest. The trail becomes steeper as you continue toward Gilman’s Point (5,681 meters), reached approximately 5–6 hours after leaving School Huts. Pause to take in the stunning pre-dawn views and the sight of Mawenzi Peak, but keep in mind that Uhuru Peak is still about two hours away—summon your strength for the final push. The path levels out as you follow the crater rim westward, and you’ll reach the summit around sunrise. Take in the incredible views and capture as many photos as you can—your time at the top will be short. From there, retrace your steps to Stella Point (5,739 meters), then descend the loose scree slopes to Barafu Camp (4,680 meters) for a short rest. Afterward, continue down to Millennium Camp (3,950 meters) for your final overnight stay. Day eight involves 14–16 hours of trekking, so it’s crucial to pace yourself, stay hydrated, and maintain your energy levels.
- Main Destination:
- Uhuru Peak
- Accommodation:
-
Millenium Camp
- Meals & Drinks:
Millennium Camp (3,950 meters) to Mweka Gate (1,640 meters)
Distance: 10km / 6.5 miles
Trekking time: 3-4 hours
Zone: Rainforest zone
Meals: Breakfast, Lunch & Dinner Included
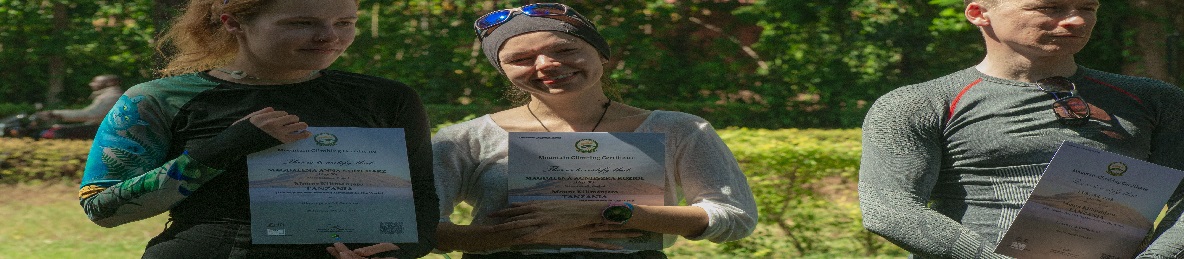
On the final day, you'll take a short hike down through the lush montane rainforest from Millennium Camp (3,950 meters) to Mweka Gate (1,640 meters). Upon arrival at the gate, you'll sign out with the park authorities and receive your official certificate – a green one for reaching Gilman’s Point and a gold one for summiting Uhuru Peak. It's customary to tip your guide and porters before being transferred back to your budget hotel in Moshi.
- Main Destination:
- Mweka Gate
- Accommodation:
-
Kilimanjaro White House Hotel
- Meals & Drinks:

Moshi to Arusha or Kilimanjaro International Airport (JRO)
The day is left free to wind down after the trek before we transfer you back to Arusha or Kilimanjaro International Airport (JRO).
- Main Destination:
- Arusha
- Meals & Drinks:
What's Included
- Park Entrance fees
- Camping Fees
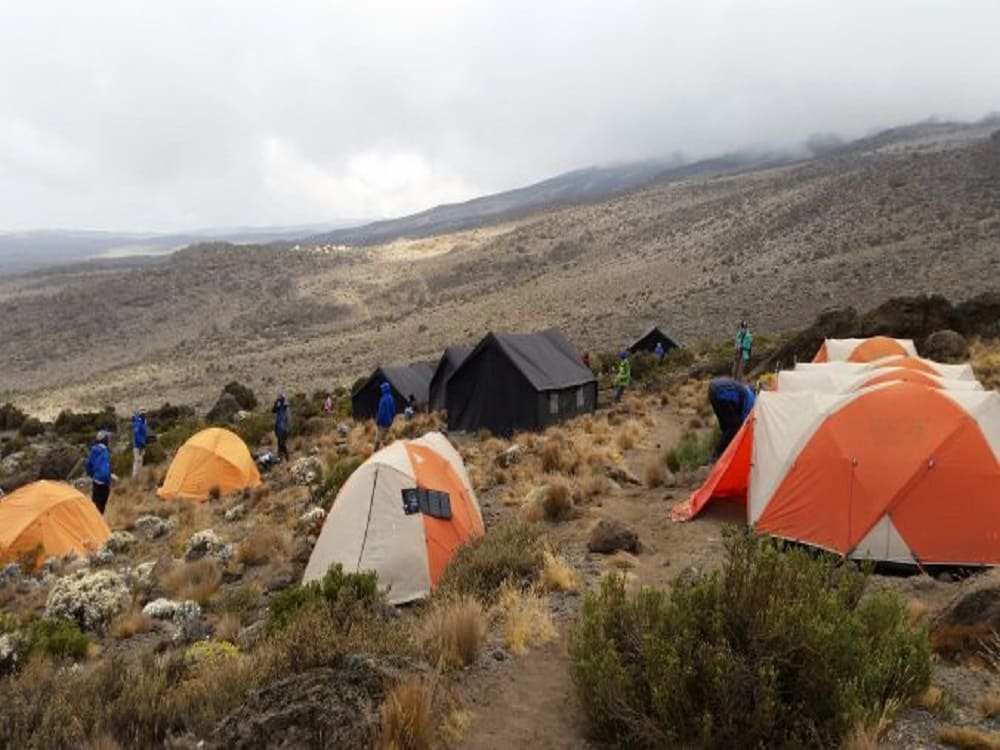
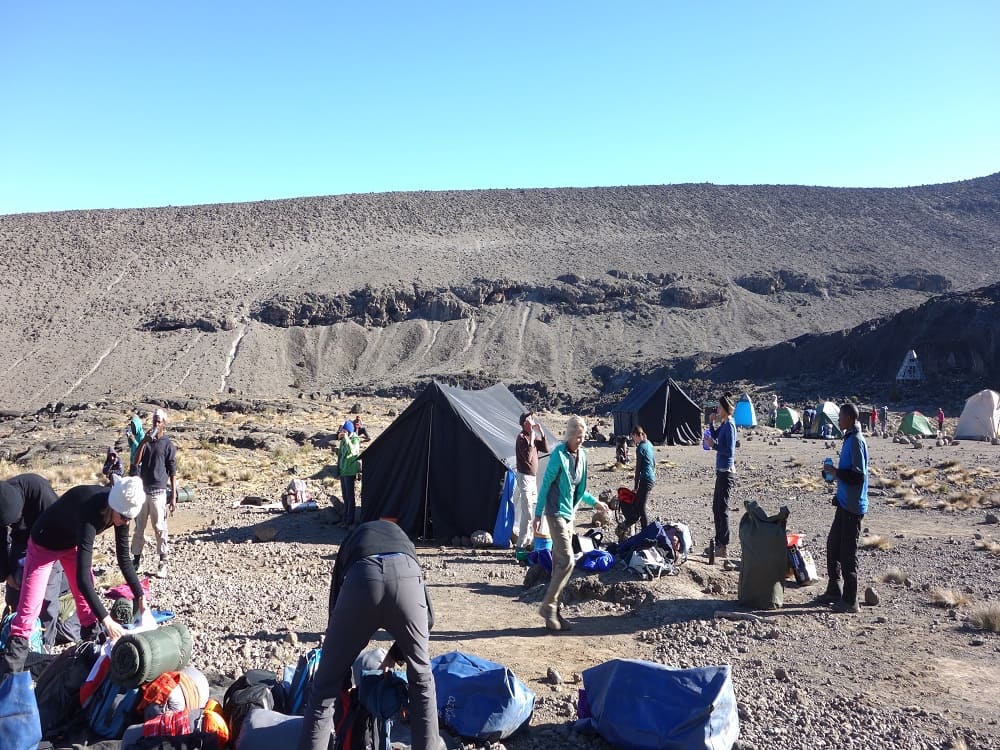
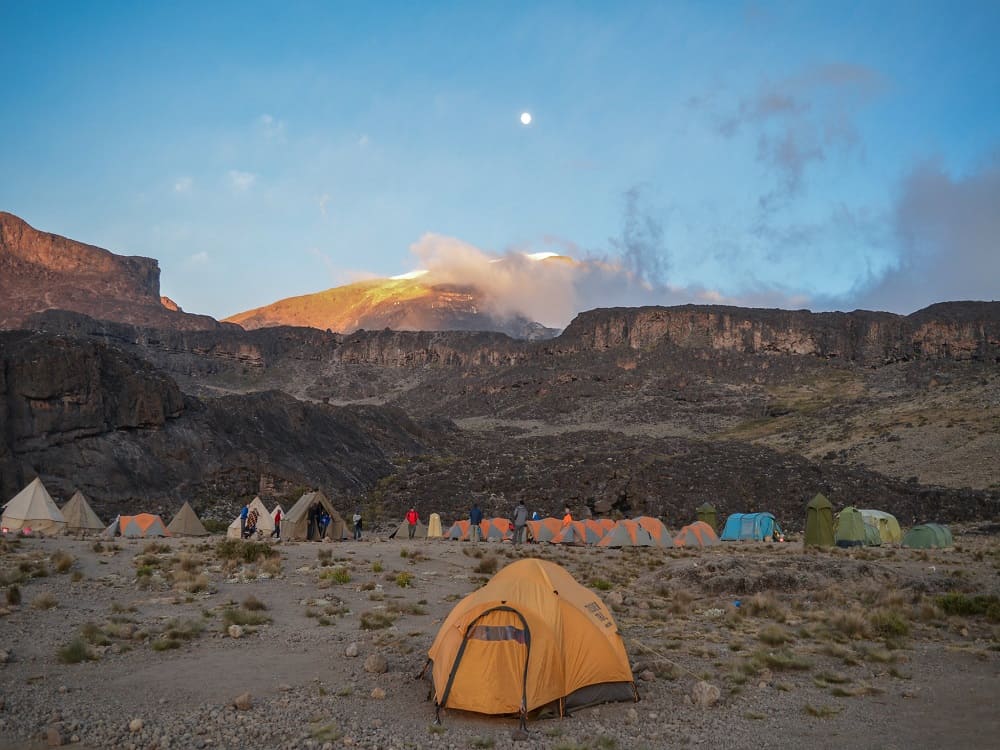
- Quality, waterproof, four-season private mountain sleeping tents
- Rescue Fees
- All Activities Mentioned
- Silver Accommodations
- Professional English-speaking Mountain guide
- Mountain Crew Fees incl. Porters, Chef, & Waiter
- Meals: Breakfast, Lunches, & dinner
- Drinks: 1.5 bottle of water per day; tea and coffee
- Airport Pick Up
- Airport Drop off
- Hot Lunch / Lunch Box
- Oximeter
- Medical Kit
- Emergency Oxygen
- Crisis management and safety procedures
- Fair and ethical treatment of porters
- 18% VAT on tour fees & services
- Transfer from Moshi to Arusha
- Transfer from Arusha to Moshi
What's Not Included
- International Flights
- Domestic Flights
- Travel & Medical insurance
- Visa Cost
- Tip / Gratitude(5)
- Items of personal nature
- Laundry Services
- Alcoholic Beverages
- Government imposed increase of taxes and/or park fees
Book with us: